Proper attic insulation is indispensable in the harsh climate of Upstate New York, serving as a shield against extreme temperatures. Our insulation solutions at MIG Building Systems optimize energy efficiency and ensure year-round comfort, making your home a haven in any weather.
Contact usHome Re-Insulation
Check out our video about how MIG’s certified energy experts team can design a thermal envelope solution that’s right for your home.
Attic Insulation Guide
According to the U.S. Department of Energy, several key areas in a home require proper insulation to maximize energy efficiency. These include floor joists, attic access doors, knee walls, exterior walls and ceilings with cold spaces above.
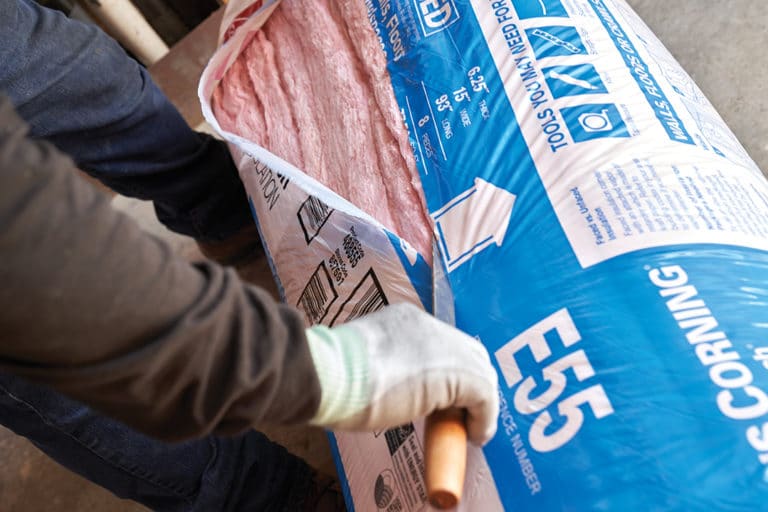
At MIG Building Systems, we ensure comprehensive coverage of these critical areas, using industry-leading techniques to effectively seal and insulate each space. With our expertise and attention to detail, homeowners in Rochester can rest assured that their homes are in capable hands, receiving top-notch, tailored insulation solutions.
Contact us
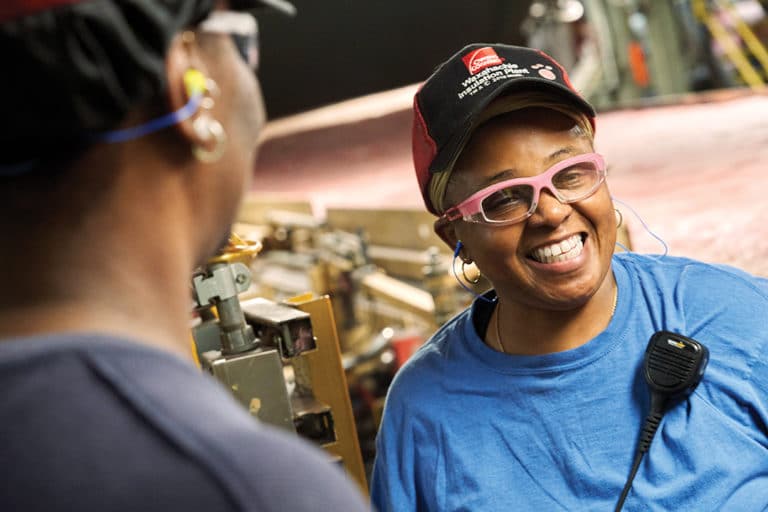
Certified Energy Expert
MIG Building Systems proudly boasts certification as Owens Corning® Certified Energy Expert® Professionals, a testament to our commitment to excellence in insulation services. This recognition signifies our adherence to rigorous standards in installation practices and the use of premium Owens Corning materials, ensuring optimal energy efficiency and performance.
Homeowners can trust our expertise and the quality of our installations, knowing we uphold the highest industry standards to deliver superior results.
Contact us at 888-397-0988 today for all your insulation needs.
Get Attic Insulation for Your Home
In the Rochester and Syracuse areas, where harsh winters and sweltering summers are the norm, attic insulation isn’t just a luxury but a necessity for homeowners seeking comfort and energy efficiency. Properly insulated attics maintain consistent indoor temperatures, reduce energy bills and enhance overall home comfort.
At MIG Building Systems, we specialize in providing insulation solutions designed to meet the unique needs of homeowners in these areas. Don’t let inefficient insulation compromise your comfort and budget any longer.
Contact MIG today for expert advice and help with your attic insulation needs. Your home deserves the best — call 888-397-0988 today.